How to Teach the SAT: Proven Strategies for Tutors, Parents & Classrooms
Learn how to teach the SAT with step-by-step strategies for private tutors, classroom teachers, and parents. Covers diagnostics, study planning, math and reading tips, and the best tools for 2026.
Targeted SAT prep improves scores by aligning teaching to each student’s strengths and needs.
The digital SAT demands adaptive strategies, not just content mastery or repetition.
Consistent mock testing and real-time feedback build student confidence and test readiness.
Teaching for the SAT is a critical process of helping students towards their college and career goals.
It means balancing instruction with motivation, helping students navigate challenging content while managing time and stress. If the teaching is less than effective, students may not score lower, they might even lose a chance to win scholarships. For context, students (including SAT test-takers) missed about $4BN grants in 2023-24.
In this article, we’ll explore practical tips and proven approaches designed to support both learners and instructors in making SAT preparation focused, efficient, and impactful. Let’s dive in.
Step-by-Step: How to Teach the SAT as a Tutor
Teaching the SAT is about strategy, personalization, and using the right tools at the right time. With the shift to the digital SAT, tutors need updated techniques that go beyond textbooks and flashcards. Here are seven practical SAT teaching tips every tutor can apply to help students build skills, confidence, and higher scores.
1. Understand the SAT structure thoroughly
As a tutor, you can make your instructions more effective when you understand the SAT structure in depth. For instance, instead of plainly explaining the test, if you can explain the Digital SAT curve, it silently builds your authority. Knowing how sections, question types, and scoring work enables you to explain patterns, point out common pitfalls, and answer student questions.
2. Start with a diagnostic assessment
A diagnostic assessment gives you a baseline of the student’s strengths and weaknesses, so you’re not guessing where they stand. A well-structured assessment helps identify gaps in time management, content knowledge, and comprehension. Based on the results, you can build a custom plan that avoids wasting time on areas the student already excels in.
Many students (and some tutors) still aren’t fully familiar with how the digital SAT works. Dedicate a session to walking through the test’s structure, adaptive modules, and online tools. Use screen-sharing or digital practice platforms to let students interact with real test interfaces. This builds digital fluency and reduces test-day anxiety.
Students and tutors agree that EdisonOS provides perhaps the most accurate screen-by-screen replica of the actual SAT.
4. Set a Target Score and Build a Study Schedule
Many students feel overwhelmed because they study without knowing whether their effort is “enough.” Setting a realistic SAT target score based on your college goals removes that uncertainty and gives your prep direction.
Once the goal is clear, build a weekly study schedule with manageable sessions for practice tests, error review, and weak areas. Keep the plan realistic around school and extracurriculars so the schedule feels sustainable rather than stressful. In general, consistency is more important than larger goals.
5. Use DSAT mock tests regularly
Incorporate practice tests for SAT into your schedule—at least one every 2-3 weeks. Mock tests help build stamina, track progress, and give students real-time experience with the test interface. Review every test in detail: focus on why mistakes happened and how to avoid them. This routine practice is one of the most effective SAT teaching tips for measurable improvement.
6. Focus on targeted practice
Use the assessment data to assign focused exercises—whether it’s geometry, grammar, or paired passages. Avoid generic worksheets. Tailor your materials to the student’s needs and learning style. For example, if a student struggles with data interpretation, use graph-heavy DSAT questions and real-world datasets to boost engagement and understanding.
EdisonOS offers a Build Your Own Test feature for personalized testing. It can cut the prep time from about 35 hours a week to no more than 2 or three hours a week. And that too with better results.
7. Teach time management techniques
The Digital SAT rewards not just accuracy, but speed and efficiency. Teach students how to pace themselves across sections. Use timed drills, teach question-skipping strategies, and help them flag tough questions for review. This builds rhythm and keeps students calm under pressure.
8. Reinforce with feedback and motivation
Always offer actionable feedback after each session or test. Highlight wins, not just weaknesses. Motivation plays a major role in SAT success, especially when students hit plateaus. Encouraging growth and showing improvement through progress charts or past performance comparisons keeps them engaged and focused.
By combining these SAT teaching tips with consistent assessment and real DSAT mock tests, tutors can build smarter prep plans that drive results. Remember, every student is different—your flexibility and feedback are just as important as your content expertise.
Powerful reporting and analytics help students understand every single element of the test. EdisonOS is the only platform that provides detailed insights along with skill accuracy charts, pacing data, and difficulty breakdown for every test the student writes.
How to Teach SAT Math: Tips for the Most Challenging Section
SAT Math becomes easier to teach when you focus less on formulas and more on patterns. Here’s a good template of how to tutor SAT math that delivers results:
Start by identifying the student’s weakest areas. That means you should separate problems from algebra, problem solving, geometry, and advanced math. That will help you club together mistakes by concepts, not by test.
One highly-underused method is one of multiple approaches. Teach students to solve questions in multiple ways. Use the built-in Desmos calculator for graphing. Estimate from the answer choices. Use some elementary rationale (e.g. when you have are asked to divide the number of candies equally between 12 kids, it should be obvious to you that the number of candies should have been divisible by 3 to begin with. Eliminate choices that don’t meet the standard).
Spend more time in reviewing wrong answers than assigning new questions. Discuss with the student to understand what made them select the incorrect choice. That’s critical to break their error-prone thinking and raise scores.
Encourage a “two-pass” strategy: solve easier questions first, then return to harder ones. Getting the early questions correct not only ensures a certain score but raises the confidence level of the test-taker.
Simulate real Digital SAT conditions regularly. Timed mixed-topic drills improve endurance, pacing, and decision-making far more effectively than isolated worksheet practice.
How to Teach the SAT Reading and Writing Section
The SAT Reading and Writing section is not just about helping students memorize a few grammar rules. It is more about the ability to impart fast comprehension and decision-making skills.
Effective SAT Reading and Writing Section tutoring includes the activities below:
Start by teaching students to identify question types. That means you discuss the main idea, inference, transitions, vocabulary in context, and grammar conventions questions. That way students can recognize patterns and tackle the questions from the correct angle faster.
Encourage students to read actively. Discuss how to summarize each passage in one sentence before answering questions. This improves focus and reduces careless mistakes.
User short, timed drills. They are often more effective than long reading sessions. The American Psychological Association, in one of its articles, explains that spacing helps jog memory and “cement the new knowledge in place”.
For grammar questions, teach rule-based elimination rather than intuition; students should know why an answer is correct, not just why it “sounds right.”
Use mixed sets of questions to improve pacing and adaptability. While reviewing, ask students to defend their choices. Then explain what evidence supports the correct choice. This builds the analytical habits needed for higher SAT scores.
How to Teach SAT Prep in a Classroom Setting
Teaching SAT prep in a classroom requires balancing a disciplined schedule against the flexibility of meeting individual student needs. That’s because students have very different skill levels and target scores.
Start each week with a clear focus area: algebra, transitions, or inference questions. Then combine short instruction sessions with timed practice drills.
Make the best of technology. Using the best Digital SAT resources for tutors strengthens personalized tutoring and improves student outcomes efficiently.
Avoid long routine lectures. Students learn faster when they participate actively in problem-solving and discussing.
Use real SAT-style questions in group activities. This encourages students to put in their best.
Have students explain their reasoning aloud. This helps expose common mistakes and improves critical thinking.
Mix individual work, peer review, and mini competitions for pacing drills or error analysis. This keeps the class engaged, makes learning more varied and interesting, and encourages a competitive atmosphere.
Track student progress regularly through quick assessments and error logs. Don’t rely only on full-length tests.
What Does It Take to Be Qualified to Teach the SAT?
While becoming an SAT tutor doesn’t require any specific qualifications, the unique nature of the test poses some unique challenges for would-be tutors. Here we summarize what are some of the most essential requirements to teach the SAT:
SAT scores that establish why you’re the one: Your students should feel they’re in safe hands. So you want to establish you’re the right tutor, by taking the SAT and getting a very high score there.
Passion to help students excel: You want to be really enthusiastic about helping students achieve their dream score. Half-hearted attempts won’t deliver results.
Test- and domain-specific set of skills: You need to know the SAT and its sections very well. That’s the only way you can help students perform their best.
Formal college degree: While not essential, tutoring organizations mostly ask for a graduate degree, sometimes even in related domains. For instance, if you plan to teach Reading & Writing, a degree in English language would make your case stronger.
Communication and presentation skills: Remember, communication is a two-way process, so you should be able to speak clearly and listen attentively. And your presentation should be inspiring enough to students to put in the required efforts.
Ability leverage technology: As more and more tests revolve around technology, you want to be able to fully exploit technology for SAT-prep.
Regular updates and adaptibility: Are you keeping yourself updated with the latest changes? Students and parents look up to you as the source of information, and you cannot disappoint them. Be sure to constantly check how tutors are adapting to Digital SAT.
Patience and empathy: Students learn at different speeds. So if Sandra could pick up Algebra in two weeks while Zeeshan couldn’t, remember it’s natural.
Willingness to work: If you are a fresher keen to start SAT tutoring, top coaching companies may not hire you right away. That’s fine. You always have YouTube. If you can create interesting videos and generate engagement, you’ve already proved you’re an amazing tutor. That’d show you are a problem-solver, always ready to take initiatives.
What Score Should You Aim for Before Tutoring?
A tutor is someone who is believable when they say a certain score is achievable.
Yet, not every tutor has be a perfect 1600-pointer.
Your scores should, in general, be commensurate with what you promise to deliver. If you’ve touched 1580 twice, you are qualified to tutor students for a 1450+ score. If, on the other hand, you claim to teach students to score 1300+, your own scores of 950 will do little to help your reputation.
The point is what you promise is a good reference for what your scores should ideally be.
Having said that, it’s difficult to convince students to trust you if you have never gone past 1000 points. So, in general, a score of 1200 and above is typically what you would need to start pulling students.
Of course, if your score are below that number, you’ll probably need to work harder to prove you’re the right tutor for students, despite your scores.
How Parents Can Support SAT Teaching at Home
Just like tutors have their role in guiding students academically, parents play an equally important part behind the scenes. You just need the right mindset and a few smart tools.
If you’ve ever wondered how parents can help with SAT prep, here are some simple, effective tips to turn your home into a supportive SAT zone.
1. Create a distraction-free study schedule
Help your teen block out consistent time for SAT prep, and make sure the environment is quiet and clutter-free. A daily or weekly routine builds discipline, and you can even hang a visual study tracker to keep motivation high.
2. Explore SAT apps and software
Use SAT apps and software like EdisonOS, Khan Academy, College Board’s Bluebook, or Quizlet to help your child revise on the go. These tools offer targeted practice, track progress, and often align closely with the actual digital SAT format.
3. Be a good listener (not just a monitor)
Sometimes, students feel overwhelmed or anxious about the pressure of performing well. Be available to talk, ask how their prep is going, and encourage them to share struggles without judgment. Emotional support matters just as much as academic help.
4. Encourage practice—but don’t micromanage
It’s tempting to hover, but SAT prep works best when the student feels in control. Offer gentle reminders, celebrate milestones, and trust their tutor’s process. Over-managing can sometimes add pressure rather than reduce it.
5. Encourage DSAT mock tests at home
Even if you’re not proctoring like an exam hall, help create a test-like atmosphere at home during Digital SAT mock exams. Limit distractions, time them, and offer praise for completing a full-length test—this builds stamina and test-day confidence.
6. Provide the right resources
From printed workbooks to curated online platforms, make sure your child has what they need to succeed. Check in with their tutor on recommended materials or SAT-specific guides and keep everything within easy reach.
7. Celebrate small wins
Did they finish a tough section? Hit a new score milestone on a mock test? Celebrate! These small victories fuel motivation and make the long prep journey feel rewarding, not just rigorous.
Supporting your teen’s SAT prep doesn’t require teaching expertise—just encouragement, structure, and a few smart tools. With the right balance, both tutors and parents can work as a team to bring out the best in every student.
Common Mistakes in SAT Teaching and How to Avoid Them
Even with the best intentions, tutors and parents can sometimes fall into patterns that do more harm than good. Understanding what not to do is just as important as knowing what works. By recognizing these pitfalls early, you can improve your teaching approach, boost learning outcomes, and most importantly, reduce SAT stress for students.
Whether you're working through reading sections or focusing on mistakes to avoid in digital SAT math, here are the 6 top mistakes in SAT teaching and how you can avoid them:
1. No Assessment:
Skipping an initial assessment means you're flying blind. Without knowing a student’s strengths and weaknesses, it’s tough to create a focused, effective study plan.
Start SAT prep with a diagnostic test to identify a student’s strengths and weaknesses. That way, the study plan targets the areas that will improve the score fastest.
2. One-Size Plan:
Every student learns differently. A generic study plan may not address individual needs, so it’s important to personalize prep based on each student’s skill level, goals, learning style, and target score. Also, as preparation progresses, regularly adjust the study plan based on performance trends rather than following a fixed weekly schedule.
3. Strategy Blindspot:
Focusing only on academic content leaves out key test-taking strategies. Teaching methods like eliminating wrong answers or knowing when to guess can make a big difference in performance.
Remember, students need to learn concepts. But at the same time, they should also learn how SAT words questions in a way to mislead test-takers.
4. Poor Time Skills:
Time management is just as important as content knowledge. Without it, students may run out of time, rush through sections, or leave questions unanswered - even if they know the material.
Be sure to show your students when to move on after a difficult question. This is vital, because otherwise, they can drain your student’s biggest resource: time.
5. No Error Review:
Practice without reviewing mistakes isn’t very productive. Students need to understand why they got something wrong so they can avoid repeating the same errors.
And it’s very important they maintain an error log. Such a log will spot weak areas and prevent mistakes from repeating. EdisonOS’s rich and insightful analytics will make sure students and tutors spot every single mistake.
6. Outdated Resources:
Using old paper-based materials doesn’t reflect the digital format of the SAT. Use high-quality resources that accurately capture the latest SAT trends and mimic the actual test in its totality. Students should practice in a digital environment to get used to the screen, tools, and navigation they'll face on test day.
Reliable, free digital SAT practice tests will improve your students’ familiarity with the test format, style, and question distribution.
Best Tools and Resources for Teaching the SAT
To streamline SAT teaching, tutors and parents rely on a range of digital tools for personalized learning and improved test preparation. Here are five must-have resources that can elevate your SAT teaching game.
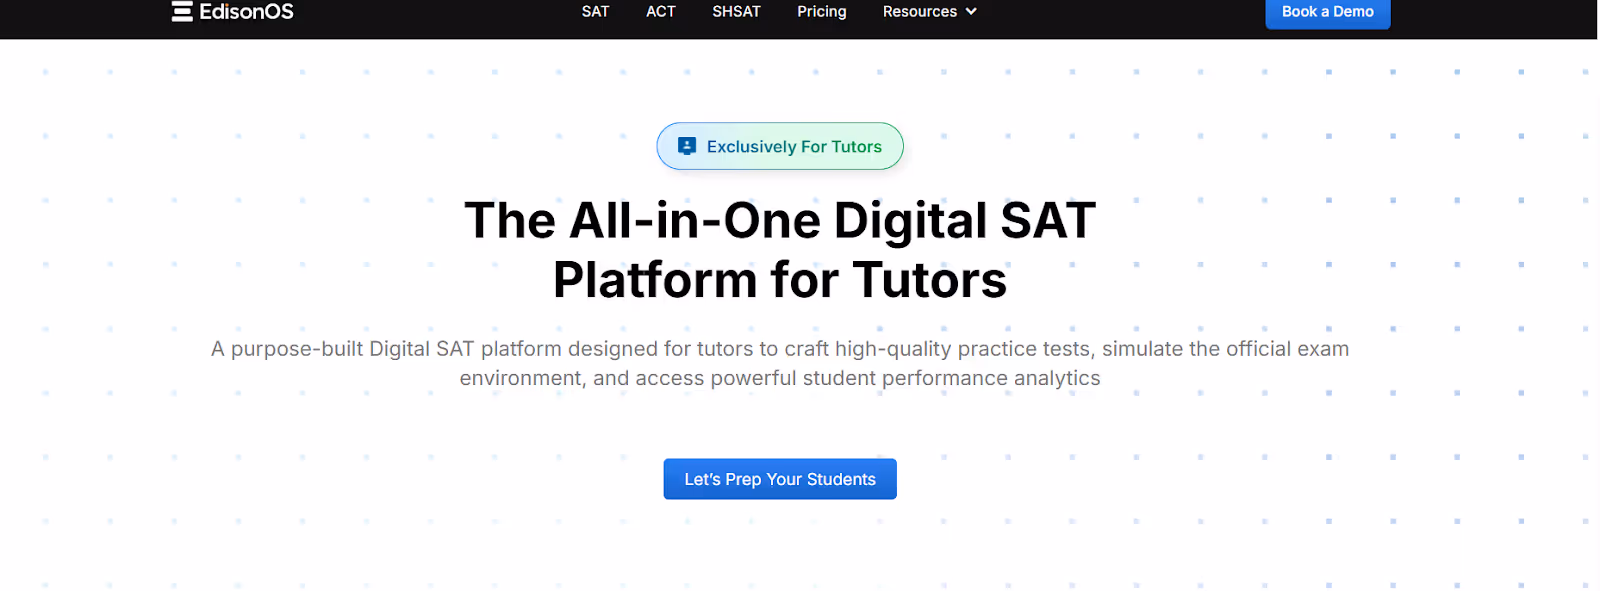
1. EdisonOS
SAT teaching platform - EdisonOS
EdisonOS is a powerful digital sat platform designed for personalized learning. It allows tutors to create customized SAT practice tests and track student progress in real time.. This tool provides valuable data and helps reduce SAT stress by offering students targeted practice that addresses their specific weaknesses.
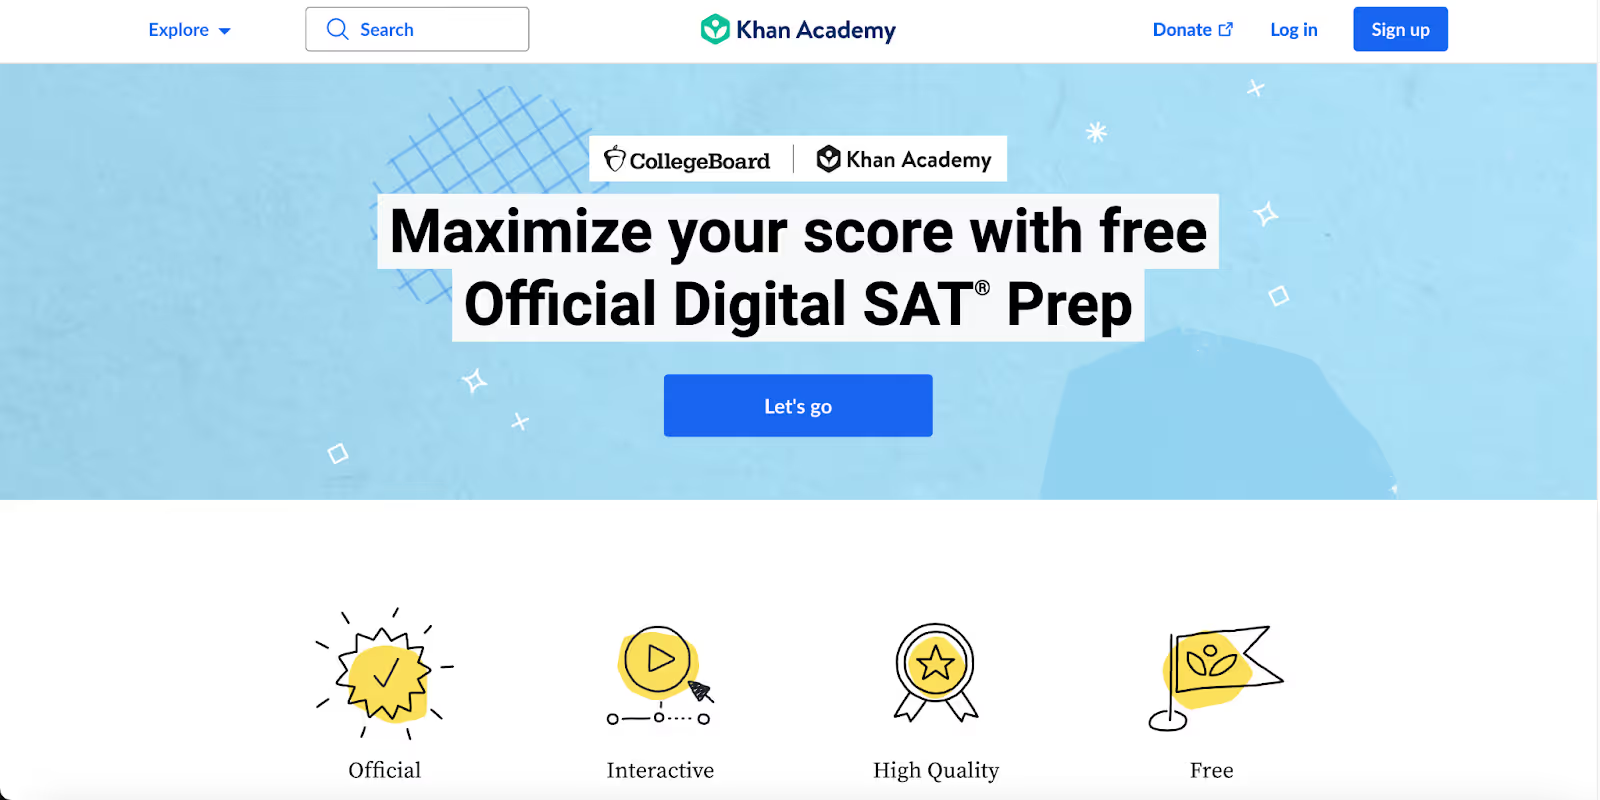
2. Khan Academy
Khan Academy is a free, user-friendly resource that offers comprehensive SAT prep courses. It’s one of the best tools to use for digital SAT preparation, as it provides video tutorials, practice questions, and personalized study plans. Khan Academy’s integration with the College Board makes it one of the most reliable tools for students looking for structured SAT practice.
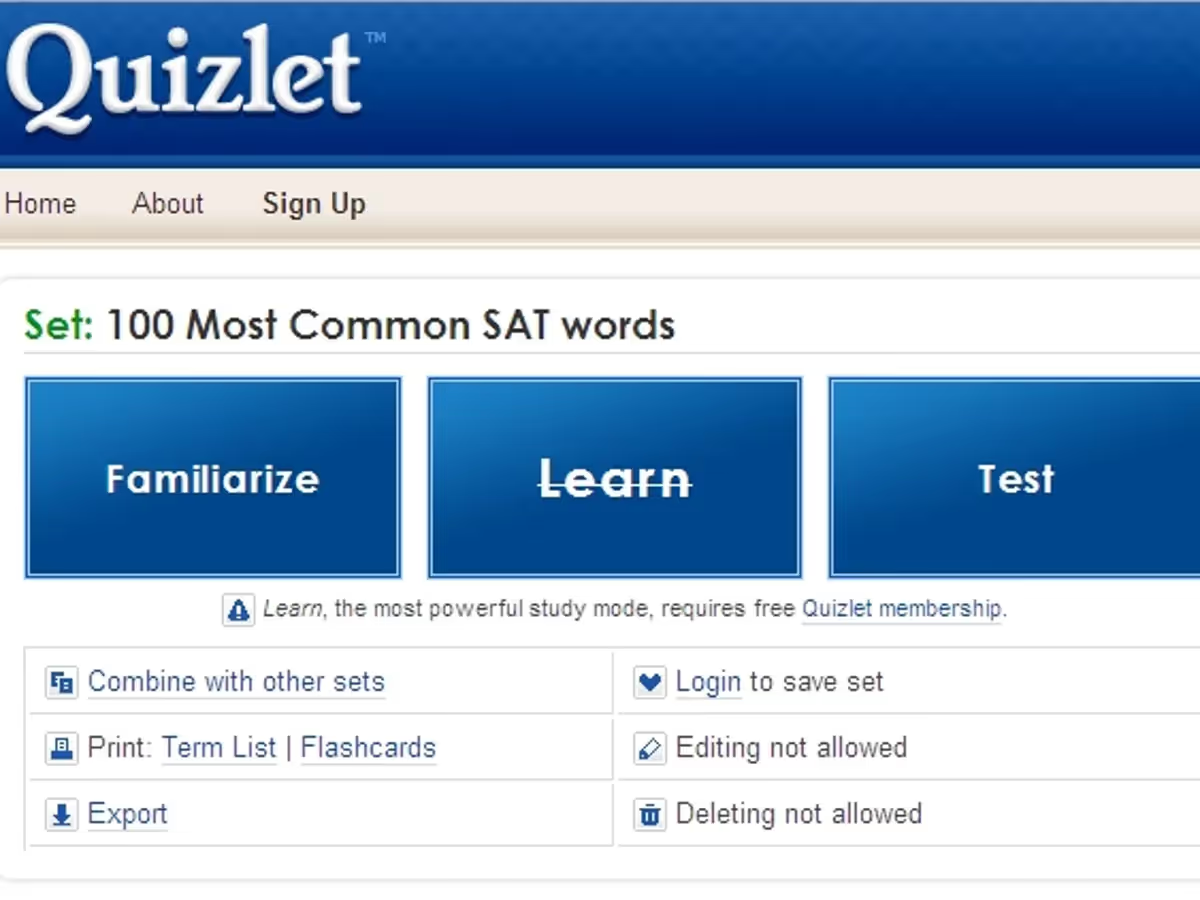
3. Quizlet
Quizlet turns studying into an interactive experience. Tutors and parents can create flashcards for vocabulary, formulas, and key concepts, or they can use pre-made sets from other users. This tool is perfect for SAT prep for tutors looking to reinforce specific topics and help students memorize content in a more dynamic, engaging way.
4. The Princeton Review
The Princeton Review offers comprehensive SAT prep courses, practice tests, and study guides that cater to different learning styles. It also provides an SAT score maximization tool, helping students focus on the areas that will make the biggest impact on their final score. Its adaptive learning platform ensures that each student gets a customized experience.
Their SAT Essentials program starts at $649.
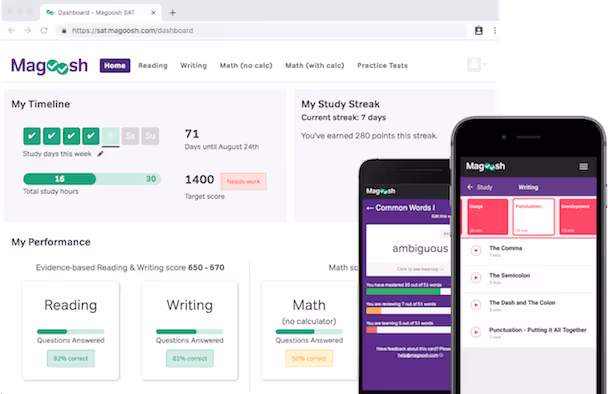
5. Magoosh
Magoosh is a popular SAT prep app and website that offers a variety of tools, including video lessons, practice questions, and study schedules. It’s particularly useful for on-the-go learning, making it ideal for students who need flexibility. Magoosh’s interactive platform helps students track progress and build their skills in a structured, manageable way.
These tools provide essential support in making SAT prep not only more efficient but also more enjoyable for students.
Magoosh-trained AI tutor starts at US $129.
EdisonOS Supports Teaching the SAT to Students With Personalized Insights
We’ve explored various teaching tips and strategies, from diagnostic assessments to leveraging SAT apps and software. Among these, EdisonOS stands out by supporting personalized insights and practice tests that help tutors tailor learning to each student’s needs.
A well-structured plan does more than cover content - it prepares students for the test-taking experience itself. Whether you’re a tutor or a parent, the correct answer to how to teach the SAT success lies in staying consistent, being adaptable, and continuously adjusting your approach based on the student’s progress.
How much time should tutors spend on each SAT section?
What are the best resources for SAT teaching?
Should SAT prep focus more on content or test strategies?
How do I keep students motivated during long prep periods?
What qualifications do you need to be an SAT tutor?
ABOUT THE AUTHOR
Shreya Vaidya
Content Marketing Associate
Being passionate about content writing and marketing, Shreya Vaidya loves getting creative about novel topics in addition to geeking out over mundane things. When not working, she relies on watching series and trying out new clothes for her daily dose of entertainment.
Tutors Edge by EdisonOS
Get Exclusive test insights and updates in our newsletter, curated to help tutors stay ahead!
Thanks for subscribing! The 'Digital SAT Breakdown Report' has reached your inbox!
Oops! Something went wrong while submitting the form.


.png)
.webp)
